Wednesday, November 20, 2013

Hand Print Turkey, an Oldie but a Goodie!

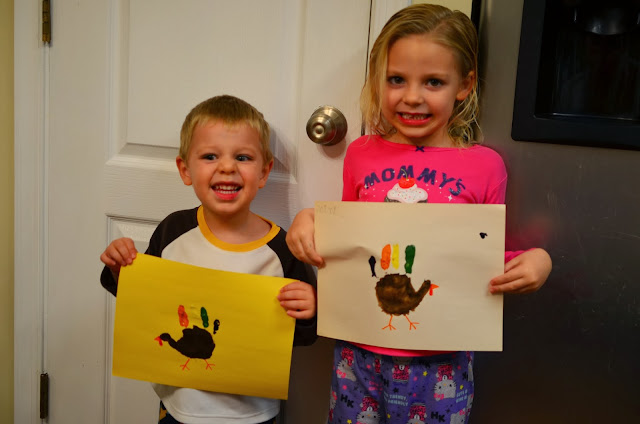
This has to be one of the easiest Thanksgiving crafts out there, the kids love the mess and the bonus is years from now you get to remember how small those cute little hands were at one time.  We took some paint to those paws keeping the palm and thumb brown and letting the kids choose the colors for the rest of the fingers.  They become the feathers. 


Have your little one press their hand on the paper and gently remove.

 
  After it dries draw two legs and feet, a beak and now's the time to explain those red dangly things. 
 
The Snood: the flap of skin that hangs over the turkey's beak. Turns bright red during courtship or when the turkey is upset.
 
The Wattle: the flap of skin under the turkey's chin. Turns bright red during courtship or when the turkey is upset.
 
 The females think the bigger and redder the more attractive those boys become. 
 That may be a lesson for another day, however.


Have fun you turkeys!!!

Wednesday, November 13, 2013

Old School Pillow Pet


Attack of the Killer Papers

Sometimes when my kindergartener comes home and unleashes a flood of papers onto the table and absolutely refuses to throw any of them away I feel like I'm drowning.   I can feel myself get anxious as I add to the huge stack on the dining room table but know that she is proud and wants me to be proud of her as well.  To fix this dilemma I turn to Amy Volk, owner of Simplified Living LLC.  She has a great blog with loads of information on home and corporate organization.  Check out her advice for school papers by clicking HERE!  Organization is not a skill that I was born with but as a mother I find I need it more and more every day to keep my sanity.  Besides, who wouldn't want to use these cute folders?  Find advice on school papers and more at www.amyvolk.com!  Also, a great place to find storage containers and folders is The Container Store.  With a little good advice and prep I know we can live simply in no time! 


http://www.amyvolk.com/what-do-i-do-with-all-the-school-papers/


                              Have any tips you can't live without?  Please comment below! 

Wednesday, November 6, 2013

Roasted Red Pepper Hummus

Hummus is one of those easy to make foods that can be extremely versatile!   Plus, it's great for your body so how can you go wrong?  I tinkered around and came up with my favorite roasted red pepper version.  Also, it's kid approved.  

 
Roasted Red Pepper Hummus
 
1 15 oz can garbanzo beans drained and rinsed
2 cloves garlic or ¼ teaspoon garlic powder
1/3 cup jarred roasted red peppers
2 tablespoons Tahini (optional)
2 tablespoons olive oil
2 tablespoons fresh lemon juice
½ teaspoon cumin
¼ teaspoon onion powder
1/8 teaspoon chili powder
¼ teaspoon sea salt or to taste
¼ teaspoon pepper or to taste
 Combine all ingredients in food processor until smooth.  Serve with veggie sticks, tortilla or pita chips.  This is also great in pitas or on sandwiches.  Happy Hummussing!


Wednesday, October 30, 2013

Fall Leaf Impression

This is a simple and fun craft for kids at any age.  Go outside and collect your favorite fallen leaves.  Set or gently tape them down to the table.  Set a sheet of paper over the leaves and at an angle draw back and forth over them.  You can always make it educational by talking about the different parts of the leaves you can see through the impressions like the veins and leafstalk.  See more interesting leaf info HERE.  Happy Fall Ya'll!


Monday, October 21, 2013

Cupcake Wrapper Flowers

Missing Summer Yet?  We are!  Make these cute flowers to bring the warmth back into your home with your little ones. 
You probably already have the items necessary to make these cute spring flowers at your home.    Kids love how simple and adorable they are. 

 Items needed:

Popsicle sticks

Buttons or beads

Cupcake wrappers

Markers or paint

Glue

Green construction paper

 
Steps:
Paint your popsicle sticks green or use a marker to color them and let dry. 
 Paint your cupcake wrappers as well if you want.
 
 
Push wrappers inside out and glue to your popsicle stick.
Glue beads or buttons in the center of your cupcake wrapper.
 
Fold your construction paper in half and draw a leaf on the folded edge.  Cut them out, unfold and glue to back of your sticks.
 
 
You can really get creative with these by doubling up the wrappers to create a layered look or by cutting the wrappers to form shaped petals and you can use almost anything for the center of the flower!   Play with them individually or glue them to a piece of construction paper to display!
 

Tuesday, October 15, 2013

Hot Air Balloon Craft


 There is something magical about hot air balloons for both children and adults.  The way they gracefully move up and down and only with the speed of the wind makes everyone, young and old, stop and stare.  With this simple craft you can create your own magical hot air balloon and make it as simple or ornate as you want.  


You will need:
Paper plates
Construction paper
Yarn or string
Hole punch or glue
Markers, crayons or paints
 Steps:
Decorate the paper plate.  We wanted to paint ours so we flipped it over to the non-waxy side and used markers and watercolors.   Feel free to use glitter, stickers or whatever excites your child and decorate both or just one side.  Let it dry.
Cut out your basket from your construction paper.  You can use a square or trapezoid. 
 
Punch out holes in the plate and basket and string together with yarn or use glue if you don’t have a hole punch.
 
Hang it high and let it twist and turn in the wind. 

Wednesday, October 9, 2013

You’re on a roll bird feeder


The birds are on their way out of here but we try to keep them coming back each morning with this easy and inexpensive diy bird feeder.   This is a perfect project for little ones and they love the idea of feeding the birds. 

 You will need:

Empty toilet paper rolls

Peanut butter

Bird seed


Steps:

Use a knife to spread a thin layer of peanut butter on the entire toilet paper roll.

Have your child roll it in the seeds.

Slide it on a branch, and wait!

Cinque Terre


Monday, October 7, 2013

Edible Art


This is a simple activity that can be educational and tasty.  It’s great for learning how to categorize and also helps to improve fine motor skills.  Understanding how these treats can be organized in different ways develops abstract thinking and putting them in place on the paper improves eye hand coordination. 

You will need:

Glue stick if you want it to be permanent

Colorful round cereal

Cotton balls (optional)

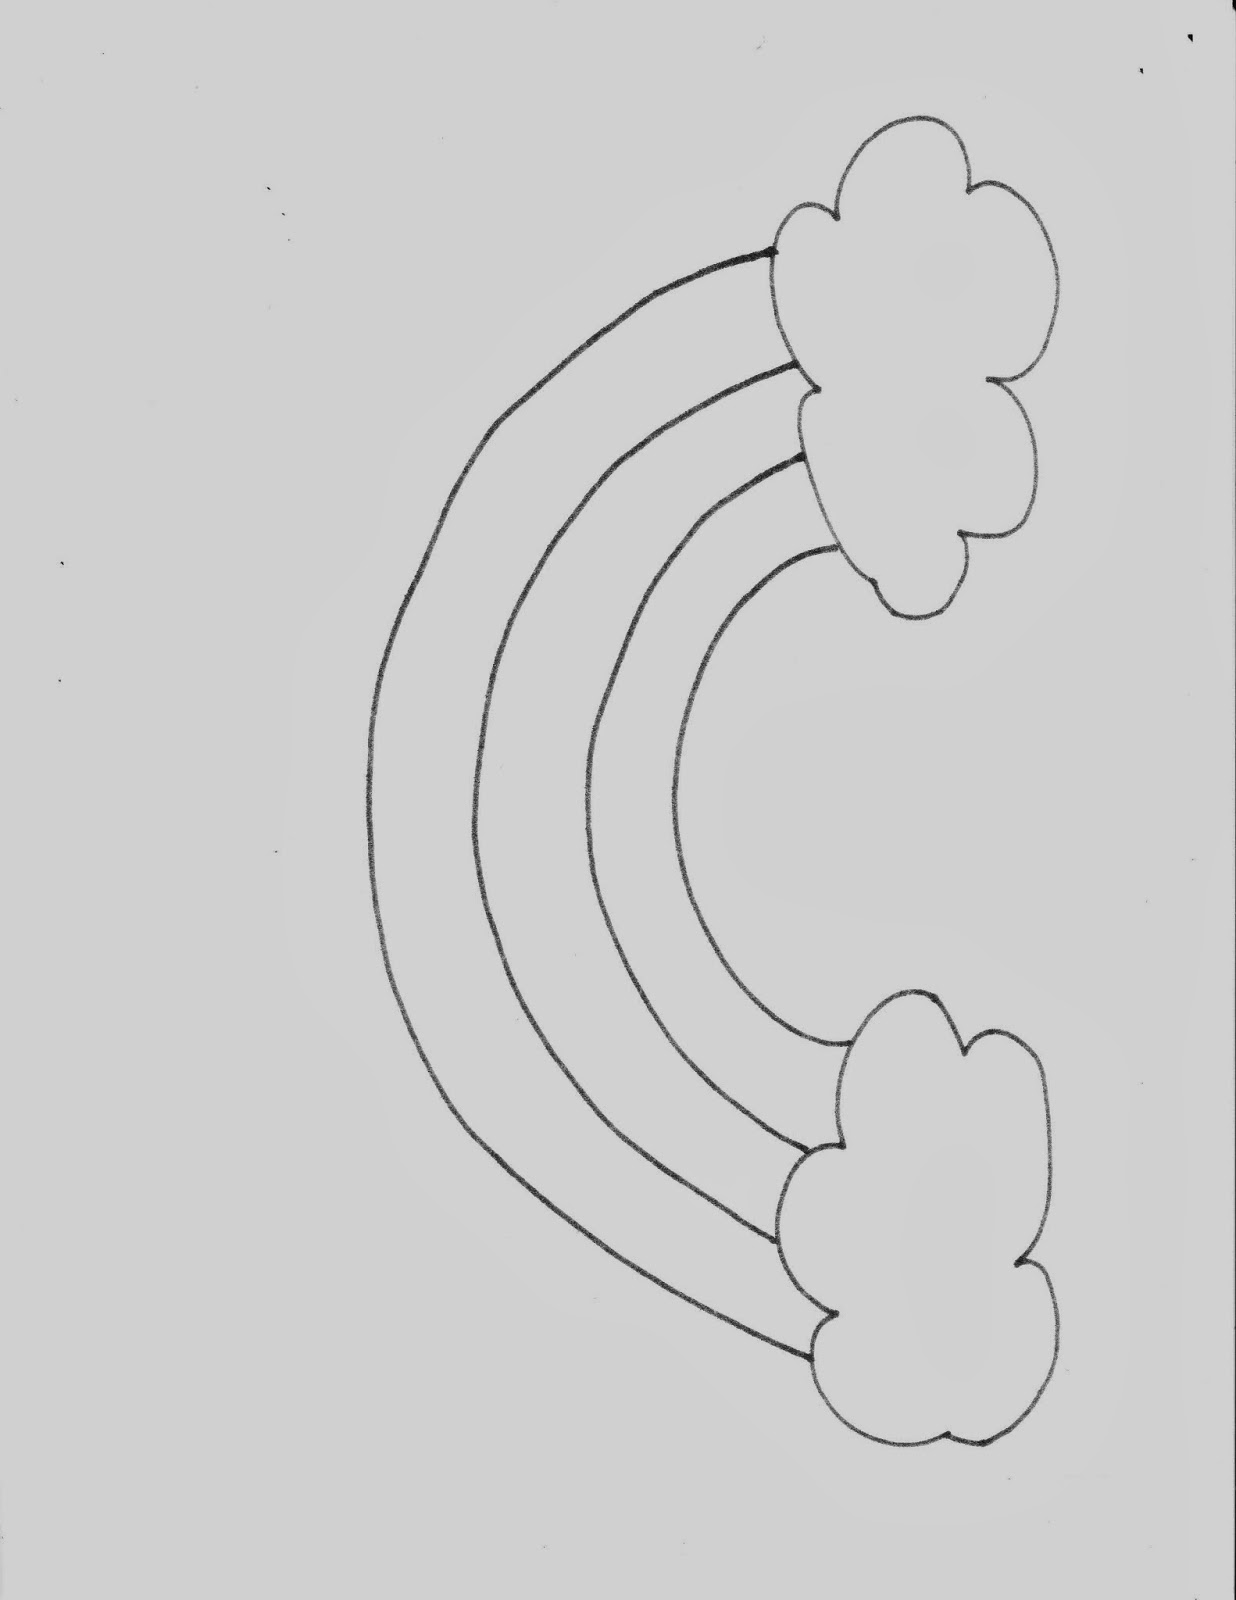
Print out sheets (2)  You should be able to right click on them and choose to print

Steps:

Rainbow Picture:  Spread out a handful of cereal onto the table.  Have you child choose three colors for the arches and then group them by color.  Then have your child place each piece in between the arches to form a rainbow.  Talk about how many you need on each arch and count them out.  Glue your cotton balls onto the clouds.  At this point you can eat the cereal pieces or glue them down!   Make sure they don’t eat them after they adhere the glue. That's pretty obvious right? YUCK!


Flower bouquet:  Have your child pick different colors and place at the top of each stem.   Glue down with glue stick.  Talk about the parts of the flower such as the stem, the petals and the seeds.  Don’t forget about Mrs. Butterfly, she needs one on her wing!


Have fun!