Showing posts with label Kids. Show all posts

Monday, April 7, 2014

Easter Basket Revamp

Easter baskets can be notorious for nasty candy, cheap toys that fall apart in a day and a new basket every year that clutters up more space in your child’s room.   Last year I was on a mission to change that and it has been a hit!  The great part is that you are going to eventually buy these things for your child this spring anyway so why not get a little organized and integrate it into your Easter basket.
 
Think outside the box and add things like:
 
A towel with your loved ones favorite character on it.

 
A new bathing suit for the season, sun glasses and hat to fend off those summer rays.
 
A stuffed animal or book.
New Spring/Summer Jammies and Slippers.
Bracelets or necklaces. 
 
Fill eggs up with things other than sweets like temporary tattoos or a healthier snack like cheerios.
 
I also have the kids put out the basket the night before so the bunny has a place to leave his gifts.  That way you save by not having to buy another basket.
Be creative, have fun and Happy Easter!          

Wednesday, November 20, 2013

Hand Print Turkey, an Oldie but a Goodie!

This has to be one of the easiest Thanksgiving crafts out there, the kids love the mess and the bonus is years from now you get to remember how small those cute little hands were at one time.  We took some paint to those paws keeping the palm and thumb brown and letting the kids choose the colors for the rest of the fingers.  They become the feathers. 


Have your little one press their hand on the paper and gently remove.

 
  After it dries draw two legs and feet, a beak and now's the time to explain those red dangly things. 
 
The Snood: the flap of skin that hangs over the turkey's beak. Turns bright red during courtship or when the turkey is upset.
 
The Wattle: the flap of skin under the turkey's chin. Turns bright red during courtship or when the turkey is upset.
 
 The females think the bigger and redder the more attractive those boys become. 
 That may be a lesson for another day, however.


Have fun you turkeys!!!

Wednesday, October 30, 2013

Fall Leaf Impression

This is a simple and fun craft for kids at any age.  Go outside and collect your favorite fallen leaves.  Set or gently tape them down to the table.  Set a sheet of paper over the leaves and at an angle draw back and forth over them.  You can always make it educational by talking about the different parts of the leaves you can see through the impressions like the veins and leafstalk.  See more interesting leaf info HERE.  Happy Fall Ya'll!


Monday, October 21, 2013

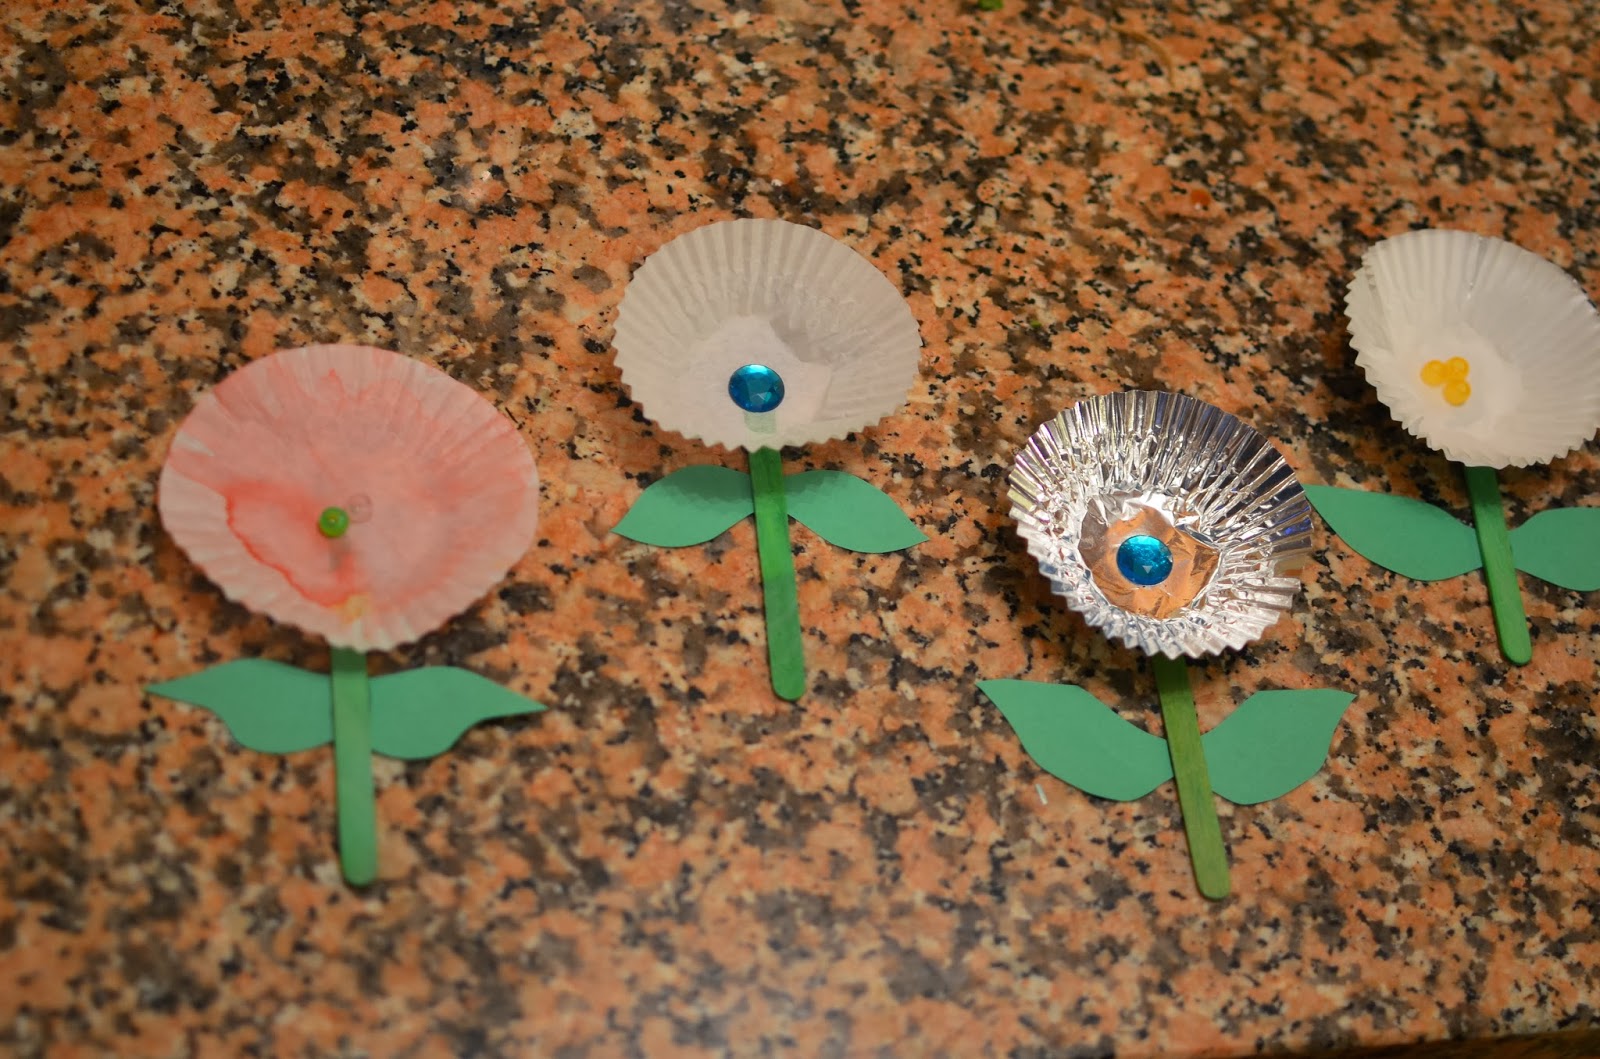
Cupcake Wrapper Flowers

Missing Summer Yet?  We are!  Make these cute flowers to bring the warmth back into your home with your little ones. 
You probably already have the items necessary to make these cute spring flowers at your home.    Kids love how simple and adorable they are. 

 Items needed:

Popsicle sticks

Buttons or beads

Cupcake wrappers

Markers or paint

Glue

Green construction paper

 
Steps:
Paint your popsicle sticks green or use a marker to color them and let dry. 
 Paint your cupcake wrappers as well if you want.
 
 
Push wrappers inside out and glue to your popsicle stick.
Glue beads or buttons in the center of your cupcake wrapper.
 
Fold your construction paper in half and draw a leaf on the folded edge.  Cut them out, unfold and glue to back of your sticks.
 
 
You can really get creative with these by doubling up the wrappers to create a layered look or by cutting the wrappers to form shaped petals and you can use almost anything for the center of the flower!   Play with them individually or glue them to a piece of construction paper to display!
 

Tuesday, October 15, 2013

Hot Air Balloon Craft


 There is something magical about hot air balloons for both children and adults.  The way they gracefully move up and down and only with the speed of the wind makes everyone, young and old, stop and stare.  With this simple craft you can create your own magical hot air balloon and make it as simple or ornate as you want.  


You will need:
Paper plates
Construction paper
Yarn or string
Hole punch or glue
Markers, crayons or paints
 Steps:
Decorate the paper plate.  We wanted to paint ours so we flipped it over to the non-waxy side and used markers and watercolors.   Feel free to use glitter, stickers or whatever excites your child and decorate both or just one side.  Let it dry.
Cut out your basket from your construction paper.  You can use a square or trapezoid. 
 
Punch out holes in the plate and basket and string together with yarn or use glue if you don’t have a hole punch.
 
Hang it high and let it twist and turn in the wind. 

Monday, October 7, 2013

Edible Art


This is a simple activity that can be educational and tasty.  It’s great for learning how to categorize and also helps to improve fine motor skills.  Understanding how these treats can be organized in different ways develops abstract thinking and putting them in place on the paper improves eye hand coordination. 

You will need:

Glue stick if you want it to be permanent

Colorful round cereal

Cotton balls (optional)

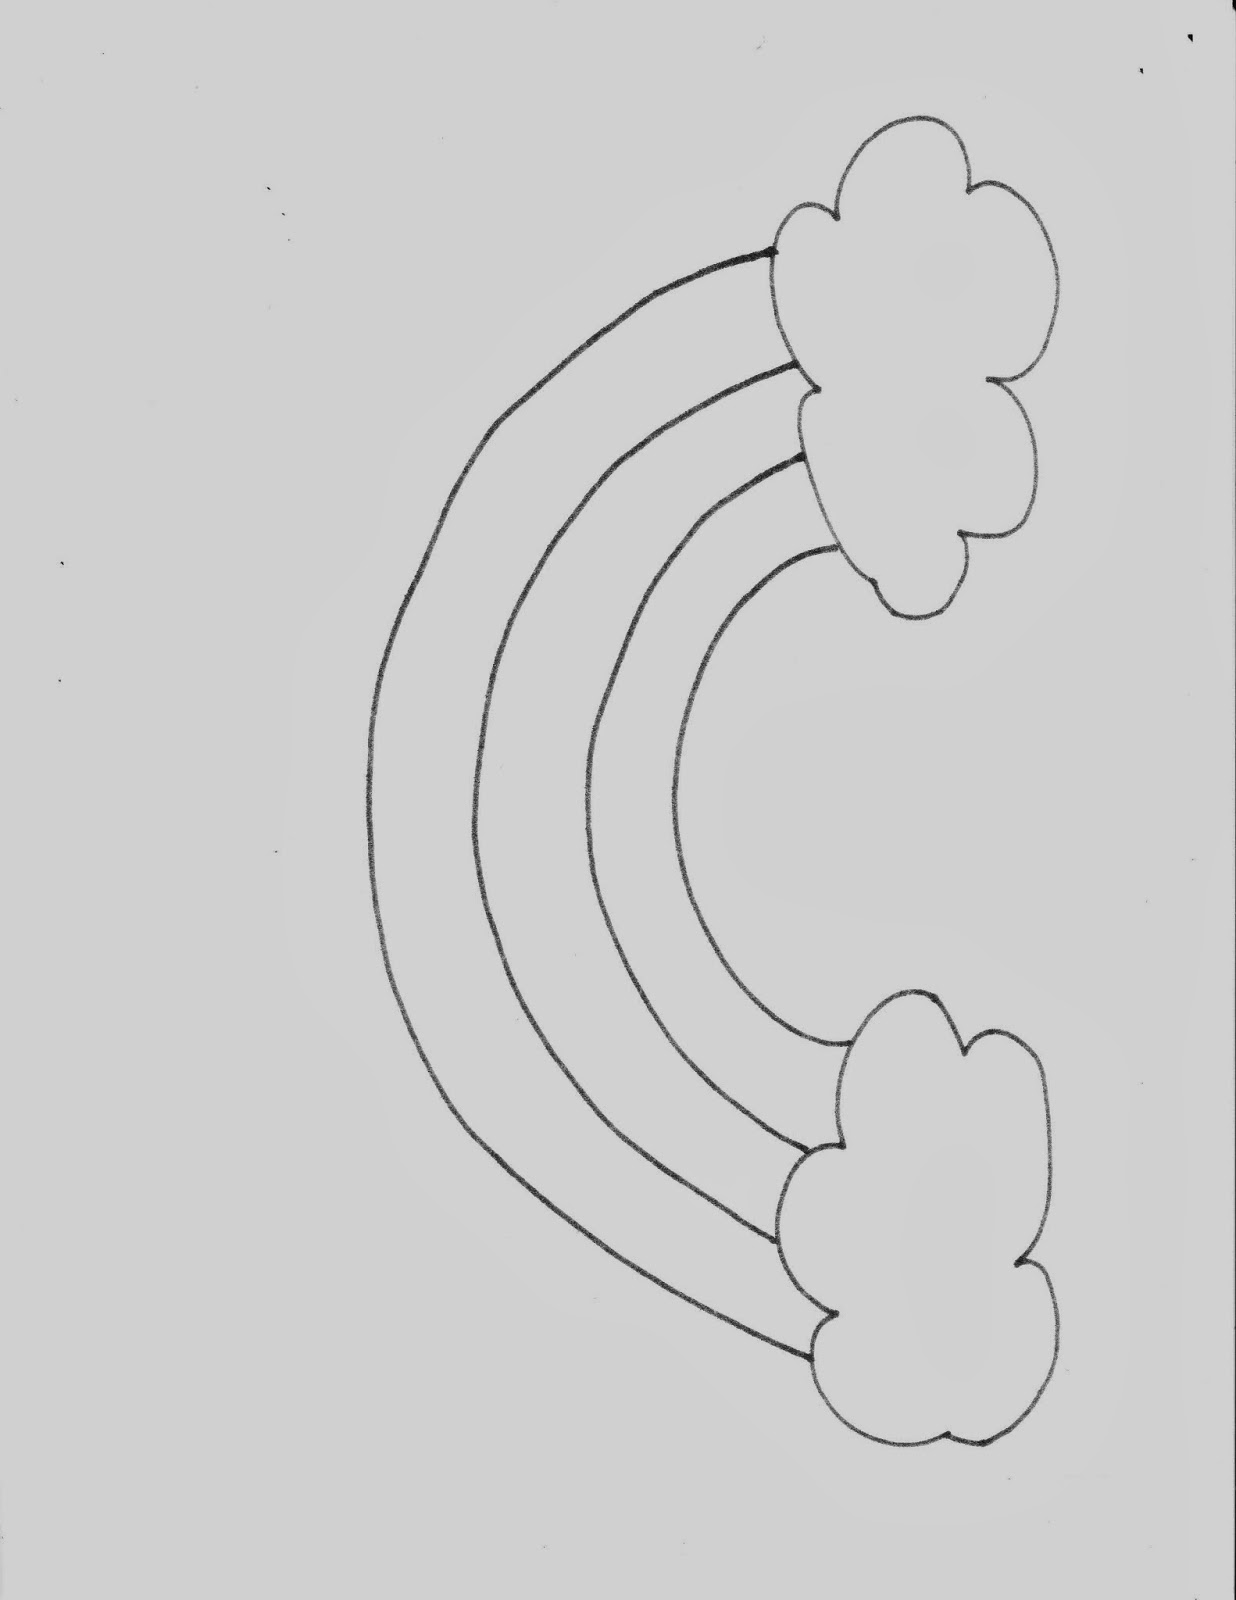
Print out sheets (2)  You should be able to right click on them and choose to print

Steps:

Rainbow Picture:  Spread out a handful of cereal onto the table.  Have you child choose three colors for the arches and then group them by color.  Then have your child place each piece in between the arches to form a rainbow.  Talk about how many you need on each arch and count them out.  Glue your cotton balls onto the clouds.  At this point you can eat the cereal pieces or glue them down!   Make sure they don’t eat them after they adhere the glue. That's pretty obvious right? YUCK!


Flower bouquet:  Have your child pick different colors and place at the top of each stem.   Glue down with glue stick.  Talk about the parts of the flower such as the stem, the petals and the seeds.  Don’t forget about Mrs. Butterfly, she needs one on her wing!


Have fun!


Wednesday, October 2, 2013

Easy Peazy Homemade Play Dough!


My kids love kneading, rolling and sometimes throwing play dough.  Most of the time when all the fun is done the lid doesn’t get put on the jar correctly and it inevitably dries out.  Never  fear, homemade play dough is here!  It is super simple, non-toxic and I bet you already have all of the ingredients in your cabinets.  It’s a great way to “cook” with your kids and when you are done in the kitchen the fun doesn’t have to stop. 

Ingredients:

2 cup of all-purpose flour

2 cup of boiling water (try the microwave for 3 minutes)

1 cup of salt

2 tablespoons cream of tartar

2 tablespoons vegetable oil

Food coloring (use at the end)


Mix all ingredients together in a bowl adding the water last.  Mom or Dad should handle the hot water! Make sure the water doesn’t cool too much before you add it in, otherwise it will not congeal. 


Use a wooden spoon to mix until it becomes too sticky to turn.  Turn out onto a table and knead to desired consistency.  Separate then add food coloring and knead again. 

 
Tips:

Put your dough in a plastic zip bag and it will be ready for next time!

Use essential oil to add scent.  Try lavender or peppermint!  A drop or two will do.

Why not add a little glitter?

Gel food coloring tends to yield more vibrant colors but any kind will do.  Why not take this time to also make it a learning experience about color combinations.  For example how red and blue make purple.

Amanda Carson

Thursday, October 15, 2009

Tis the season

As our children go back to school and they mix and mingle and the germs do the same they are bound to come home sick. I have in my lap as I type a 13 month old who is usually by this time in the morning terrorizing the dogs and has half way destroyed the house. She is the most pitiful thing right now. STREAMS of snot, watery eyes and that lackadaisical stare. This is our first major cold. I say "our" because the whole family gets involved. I can't wait until I am chasing her around again telling her to stop pushing the dogs "button". It just breaks my heart to see her so miserable.

So don't forget to wash those hands! Tis the season!